7th +Denim Project All from 1 Pair of Jeans
This post contains affiliate links. If you make a purchase after clicking them, we will be compensated, but there is no additional cost to you. All opinions expressed are our own. Thank you for your support.
Finally!
I sat at my sewing machine and finished my denim projects!
I sat at my sewing machine and finished my denim projects!
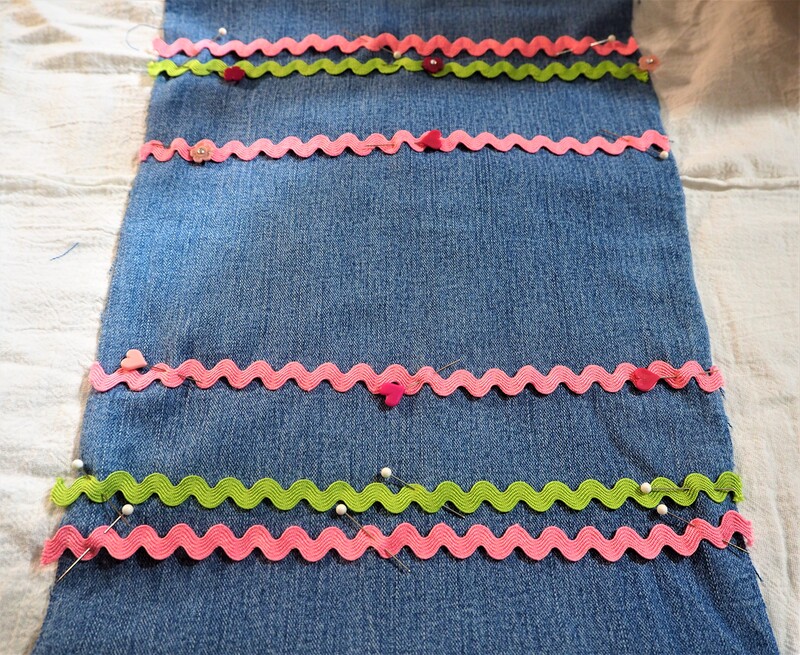
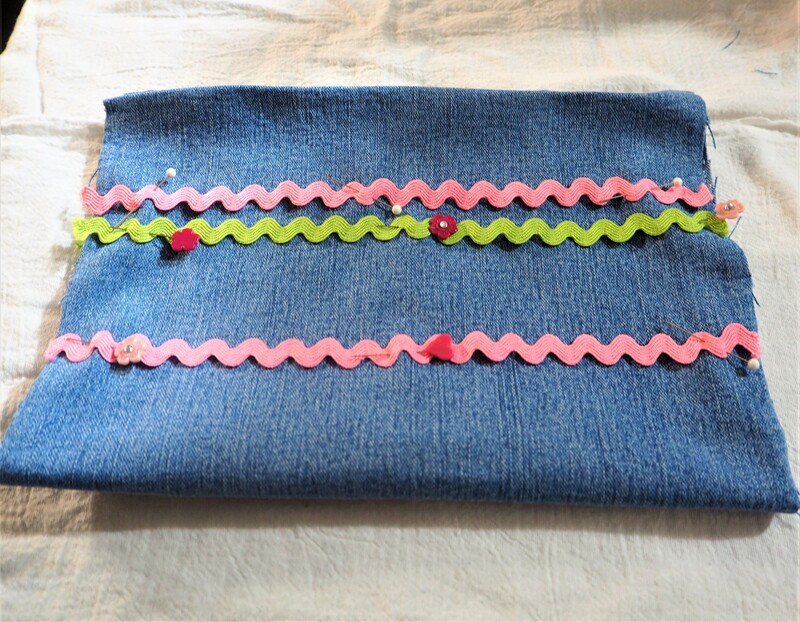
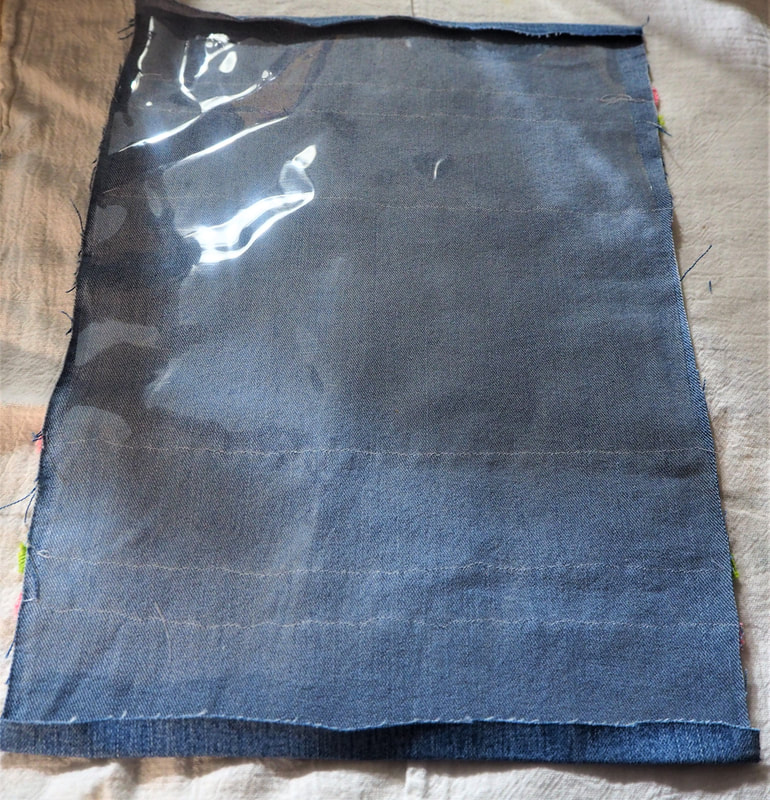
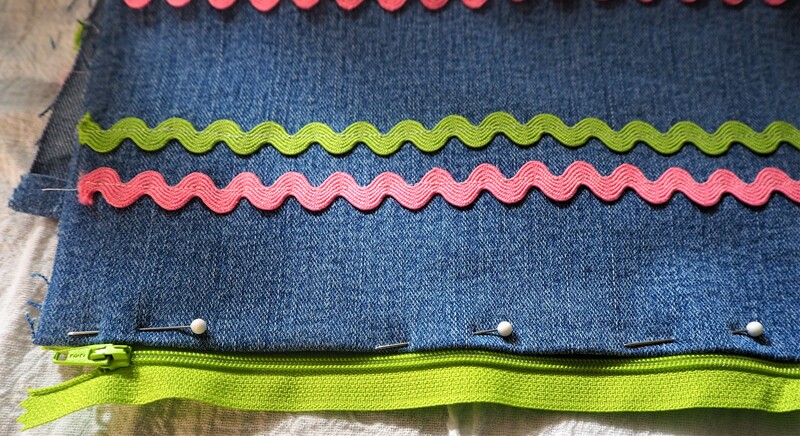
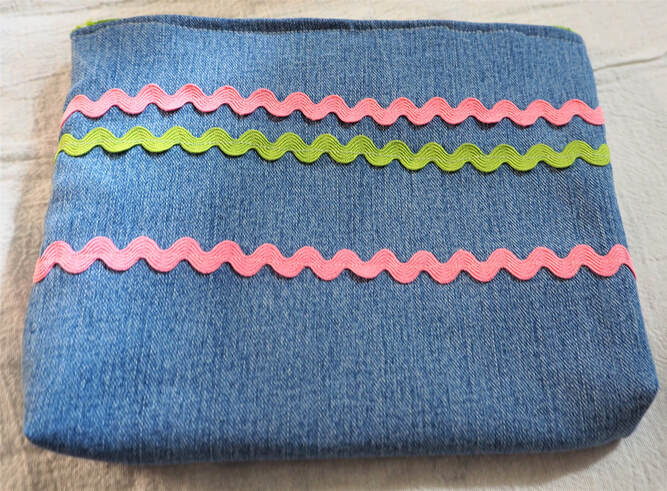
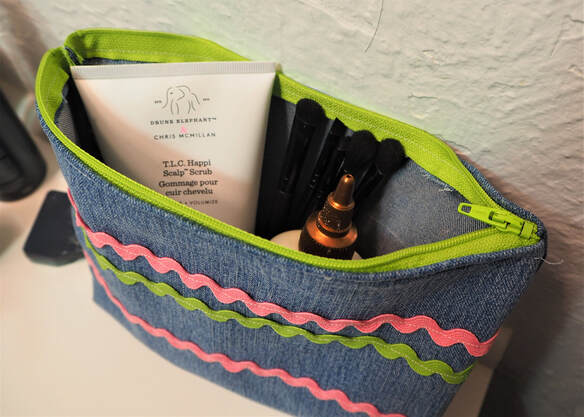
First of all, I decided that I wanted to make a zippered pouch that can be used for holding school supplies or as a make-up bag, or whatever you would like to use a zippered pouch for. I have never made one and didn't have a pattern, so I just thought about it and figured out in my head how to make it work. Then, I decided to add some color to it and line it with vinyl to make it easy to clean.
Click on the pictures to get the directions.
Click on the pictures to get the directions.
Supplies:
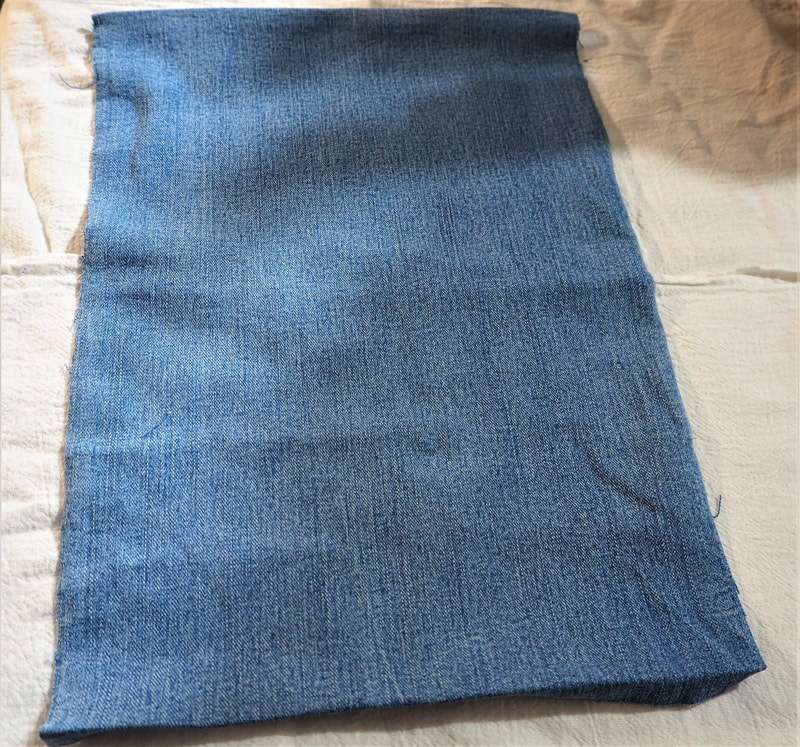
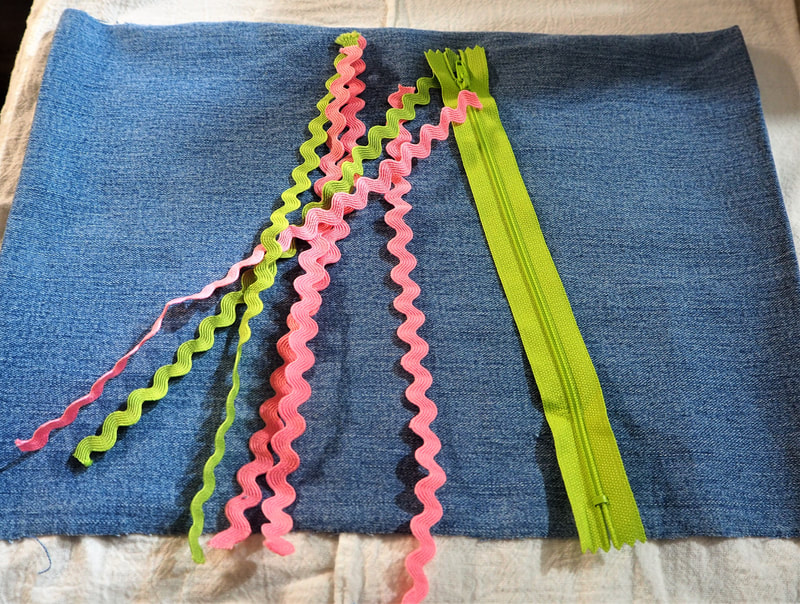
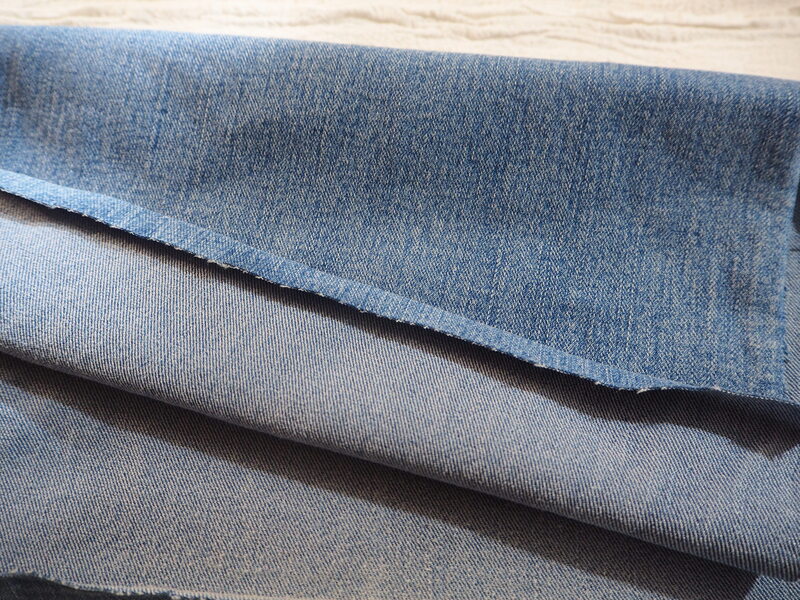
- 1 piece of denim from an old pair of jeans that is about 10 inches wide and 16 inches long
- 1-9 inch zipper in whatever color you prefer
- 1 piece of clear vinyl cut just slightly smaller in length than the denim
- Trim for whatever look you would like. I used rick-rack
- A sewing machine, pins and thread
- scissors
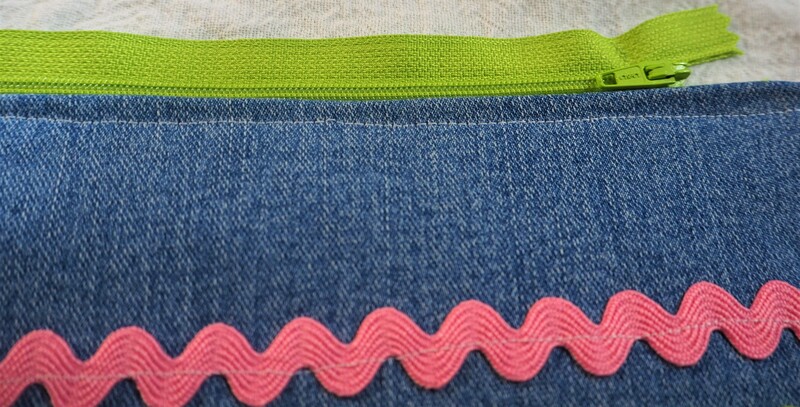
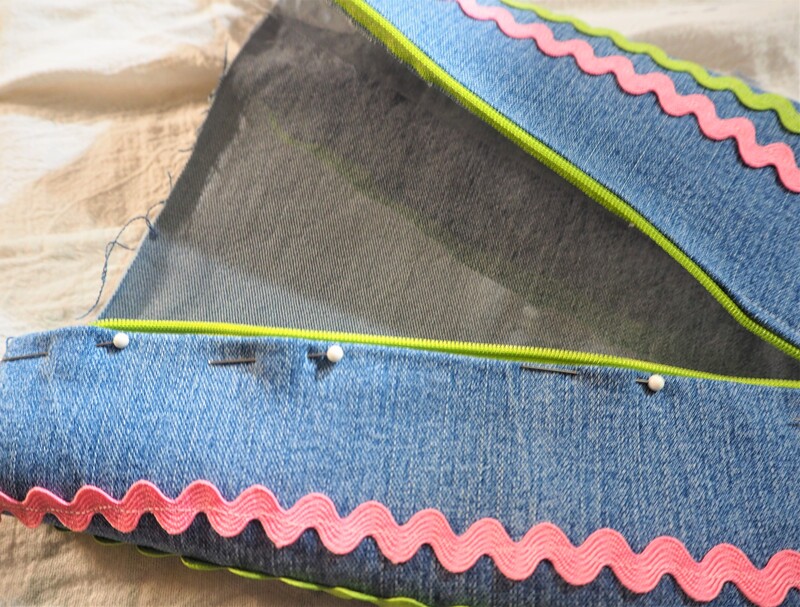
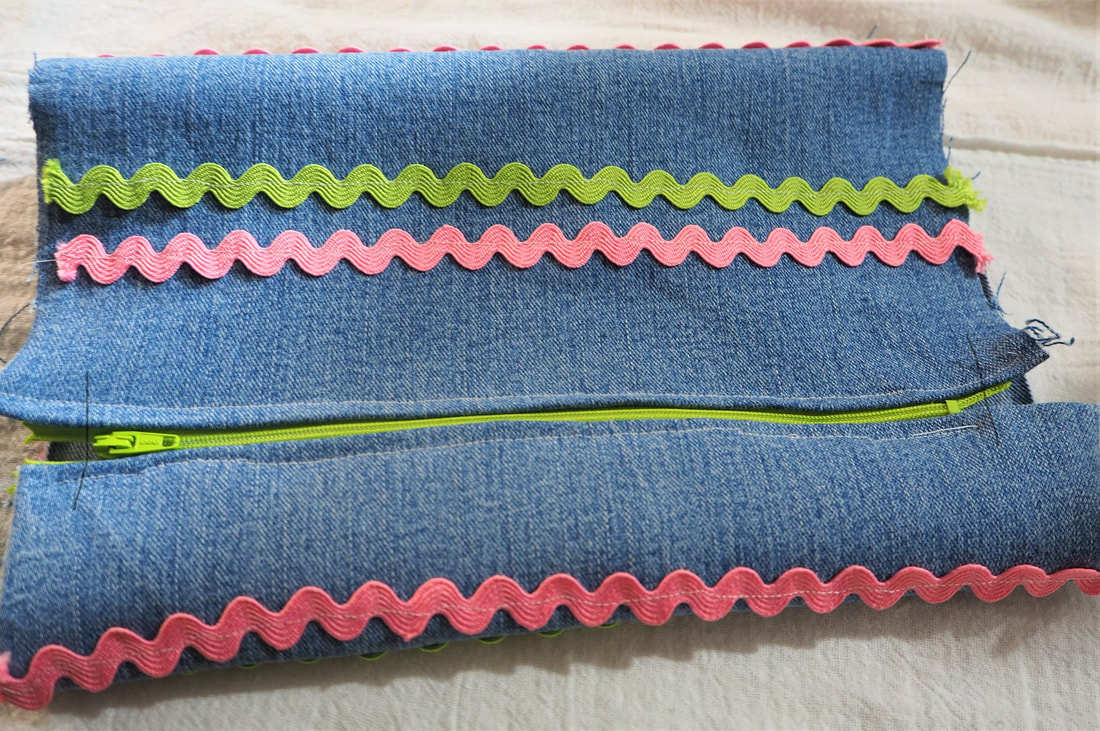
After the zipper is sewn in, you will need to turn the bag inside out and sew up both of the side seams. The seams will be pretty wide because you have to take in the ends of the zipper. Here is a picture with lines on it showing where you will be sewing when it is flipped.
Flip the bag and sew the seams, then trim the seams to about 1/4 inch. Now flip the bag back, unless you want to do like I did and sew about an inch down on the seam line to make the bag have a wider bottom. It is the same process that I used on the denim basket only smaller, you can check it out here.
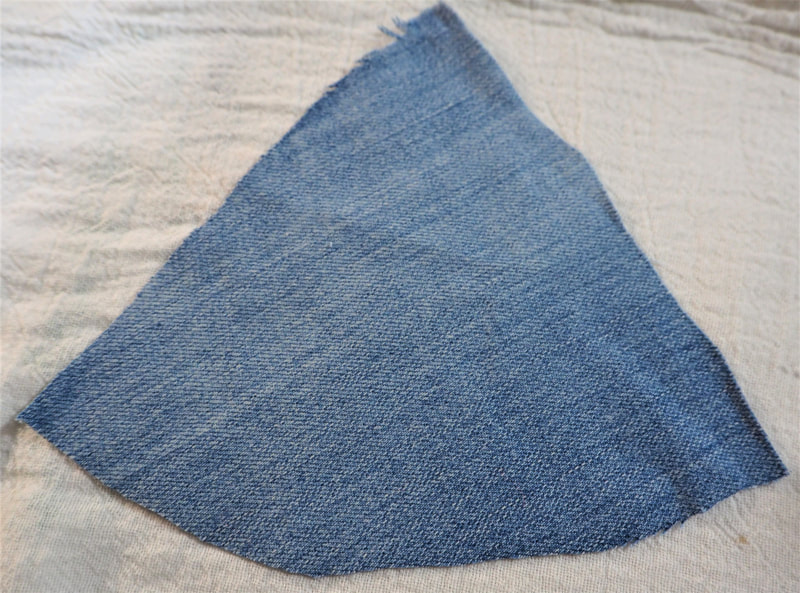
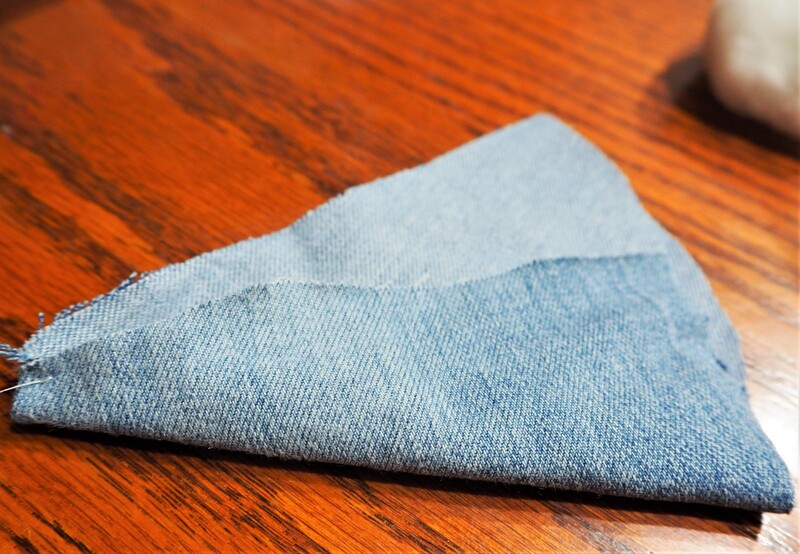
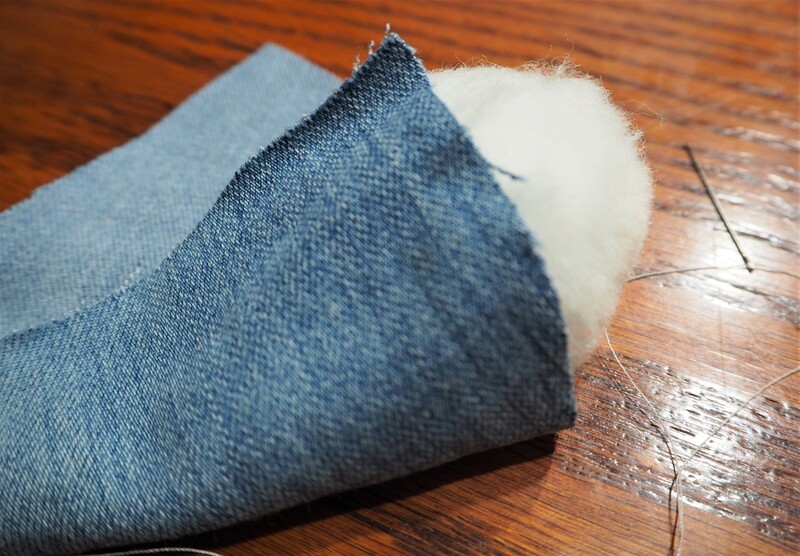
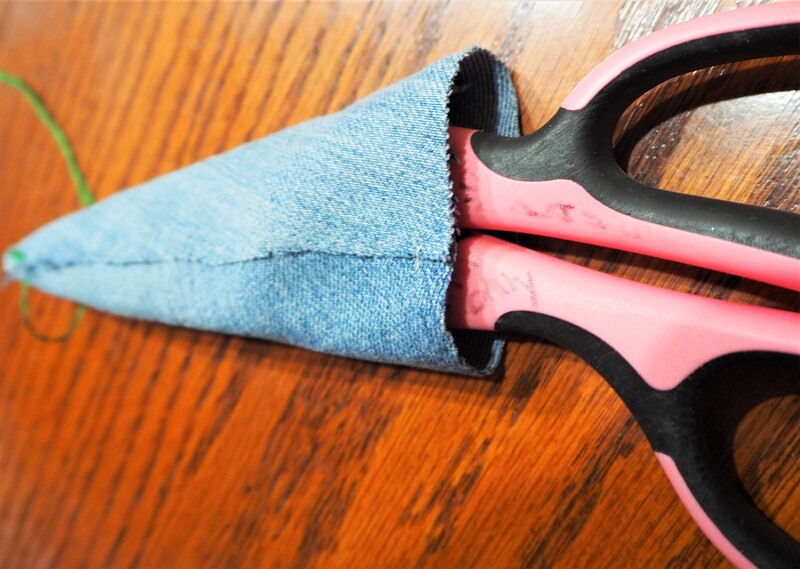
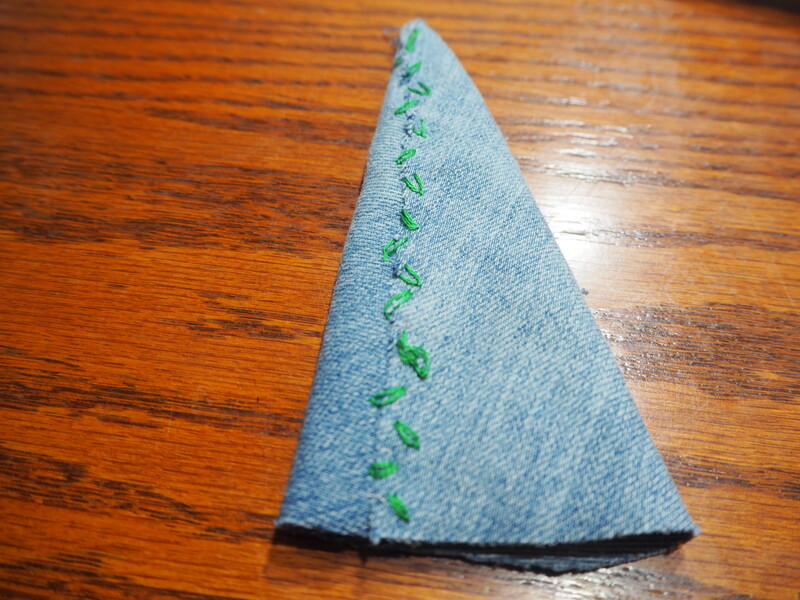
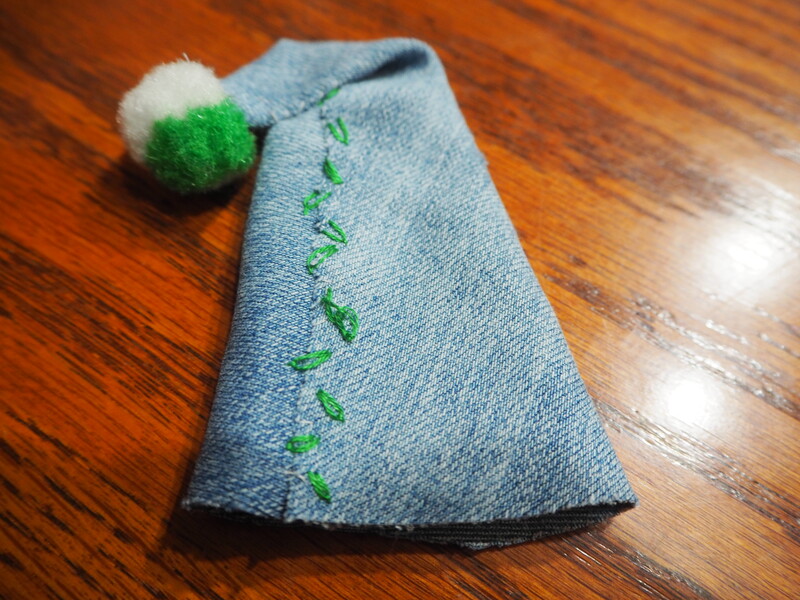
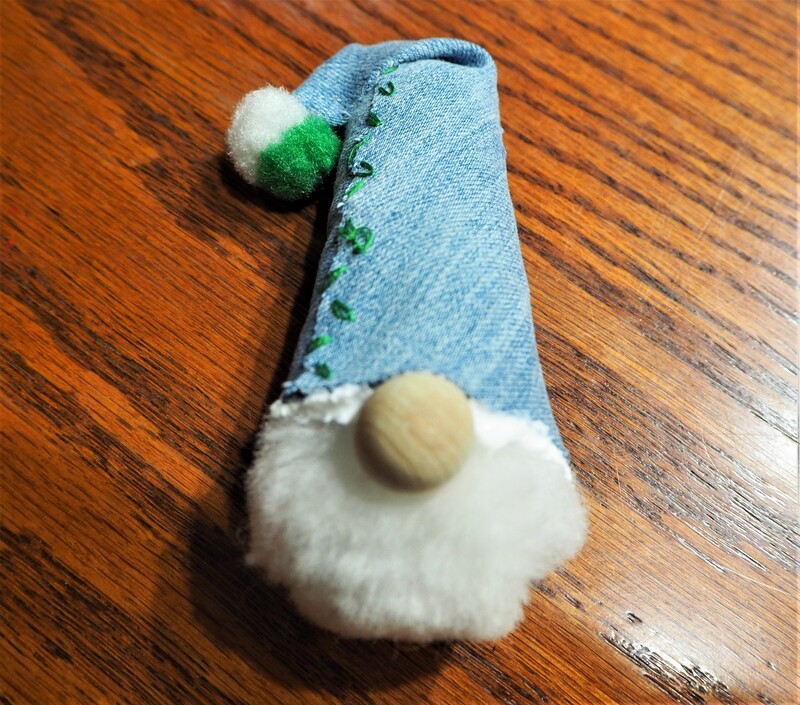
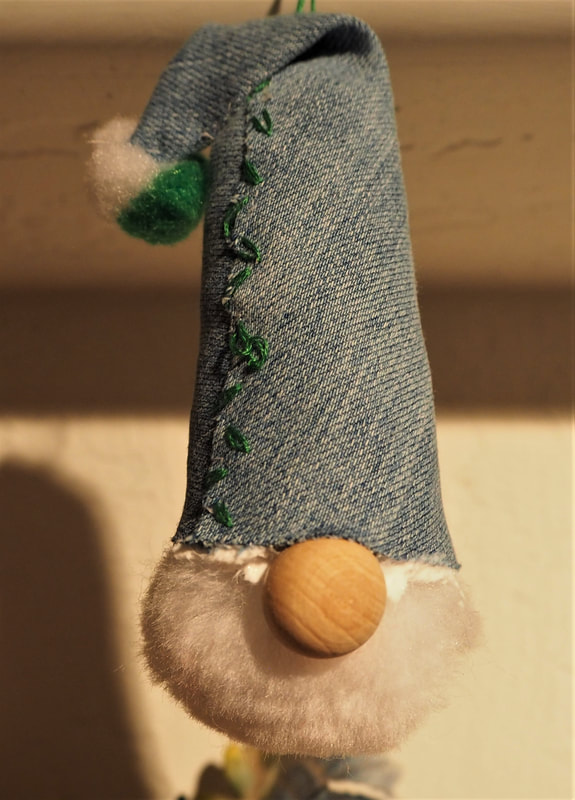
Speaking of gift giving, I couldn't finish making these projects without making this cute gnome ornament. I've wanted to try my hand at making a gnome for a long time now, and this was the perfect opportunity. I still have some of my jean's denim left, so I could easily whip out a few of these to give tied onto Christmas packages. I had all of the supplies on hand and this worked up so quickly. Here is how I did it. You can totally just glue the entire thing together or take a few stitches like I did.
Supplies:
- Cone shaped piece of denim. You can decide what size you want your gnome to be. My cone was about 6 inches across the curved bottom and 5 1/2 inches up to the point.
- Needle and thread or a hot glue gun
- Embroidery floss an needle
- 2 pom poms, 1 large, 1 small
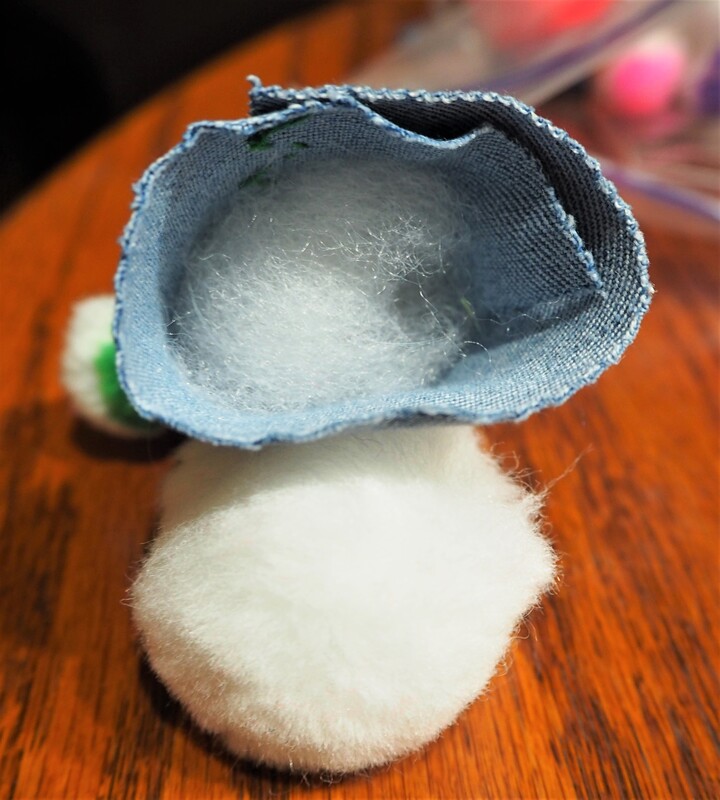
- a bit of fiber fill
- a wooden bead for the nose
- White glue or hot glue
Sorry about my glue showing, it will be clear when it dries.
Add some floss through the fold in the hat to make a hanger and there you have it, an adorable gnome made from your old blue jeans!
Add some floss through the fold in the hat to make a hanger and there you have it, an adorable gnome made from your old blue jeans!
If you missed any of the other denim projects, here you go:
#1-Jeans Basket
#2-Kindle Reading Pillow
#3-Tee Shirt and Jeans Pillow
#4-Patchwork Quilted Hot Pad
#5-Jeans Pocket Purse/Giftbag
#6-Embroidery Wall Art
#1-Jeans Basket
#2-Kindle Reading Pillow
#3-Tee Shirt and Jeans Pillow
#4-Patchwork Quilted Hot Pad
#5-Jeans Pocket Purse/Giftbag
#6-Embroidery Wall Art


